

Nahttypen is the German term for types of seams used in sewing and garment construction. Whether you are learning to sew at home, studying fashion design, or working with textiles, understanding different seam types helps you create garments that look professional and last longer.
A seam does more than join two pieces of fabric. It affects the strength, flexibility, appearance, comfort, and durability of a finished item. A lightweight blouse needs a different construction from a pair of denim jeans, while stretch clothing requires a seam that can move with the fabric without breaking.
There is no single seam that works best for every project. The right choice depends on the material, the garment’s purpose, the desired finish, and the equipment available. This guide explains the most useful Nahttypen, how they work, where they are commonly used, and how beginners can choose the right option for their sewing projects.
What Are Nahttypen in Sewing?
In sewing, a seam is the line where two or more pieces of material are joined. Nahttypen describes the different constructions used to create these connections. Depending on the design, a seam may be simple and almost invisible, enclosed to hide raw edges, reinforced for durability, or designed to become a visible decorative feature.
Seams are essential in clothing, upholstery, accessories, and many other textile products. They help garments hold their shape and withstand everyday movement, washing, and wear.
It is also useful to distinguish between a seam type and a stitch type. A seam describes how fabric pieces are arranged and joined, while a stitch describes how the thread forms the connection. For example, a plain seam can be sewn using a suitable straight stitch, while an overlock seam uses stitching designed to join or finish fabric edges. Technical classifications distinguish these construction methods because each serves a different purpose. <Cite refs={[“turn668801search7″,”turn668801search8”]}/>
Another important term is seam allowance. This is the extra fabric between the stitching line and the cut edge. Some seam constructions leave the allowance inside the garment, while others fold, enclose, or trim it to create a cleaner finish.
The main reasons to understand different Nahttypen include:
- Choosing a seam that suits the fabric.
- Preventing raw edges from fraying.
- Improving the strength of a garment.
- Creating a smooth and comfortable inside finish.
- Adding decorative details to clothing.
- Making garments easier to maintain and repair.
For beginners, learning a few reliable seam types provides a strong foundation. More advanced techniques can be added as sewing skills improve.
8 Common Types of Seams and Their Uses
Several seam types appear frequently in home sewing, fashion design, and clothing production. The following options cover many everyday projects, from simple alterations to more structured garments.
1. Plain Seam
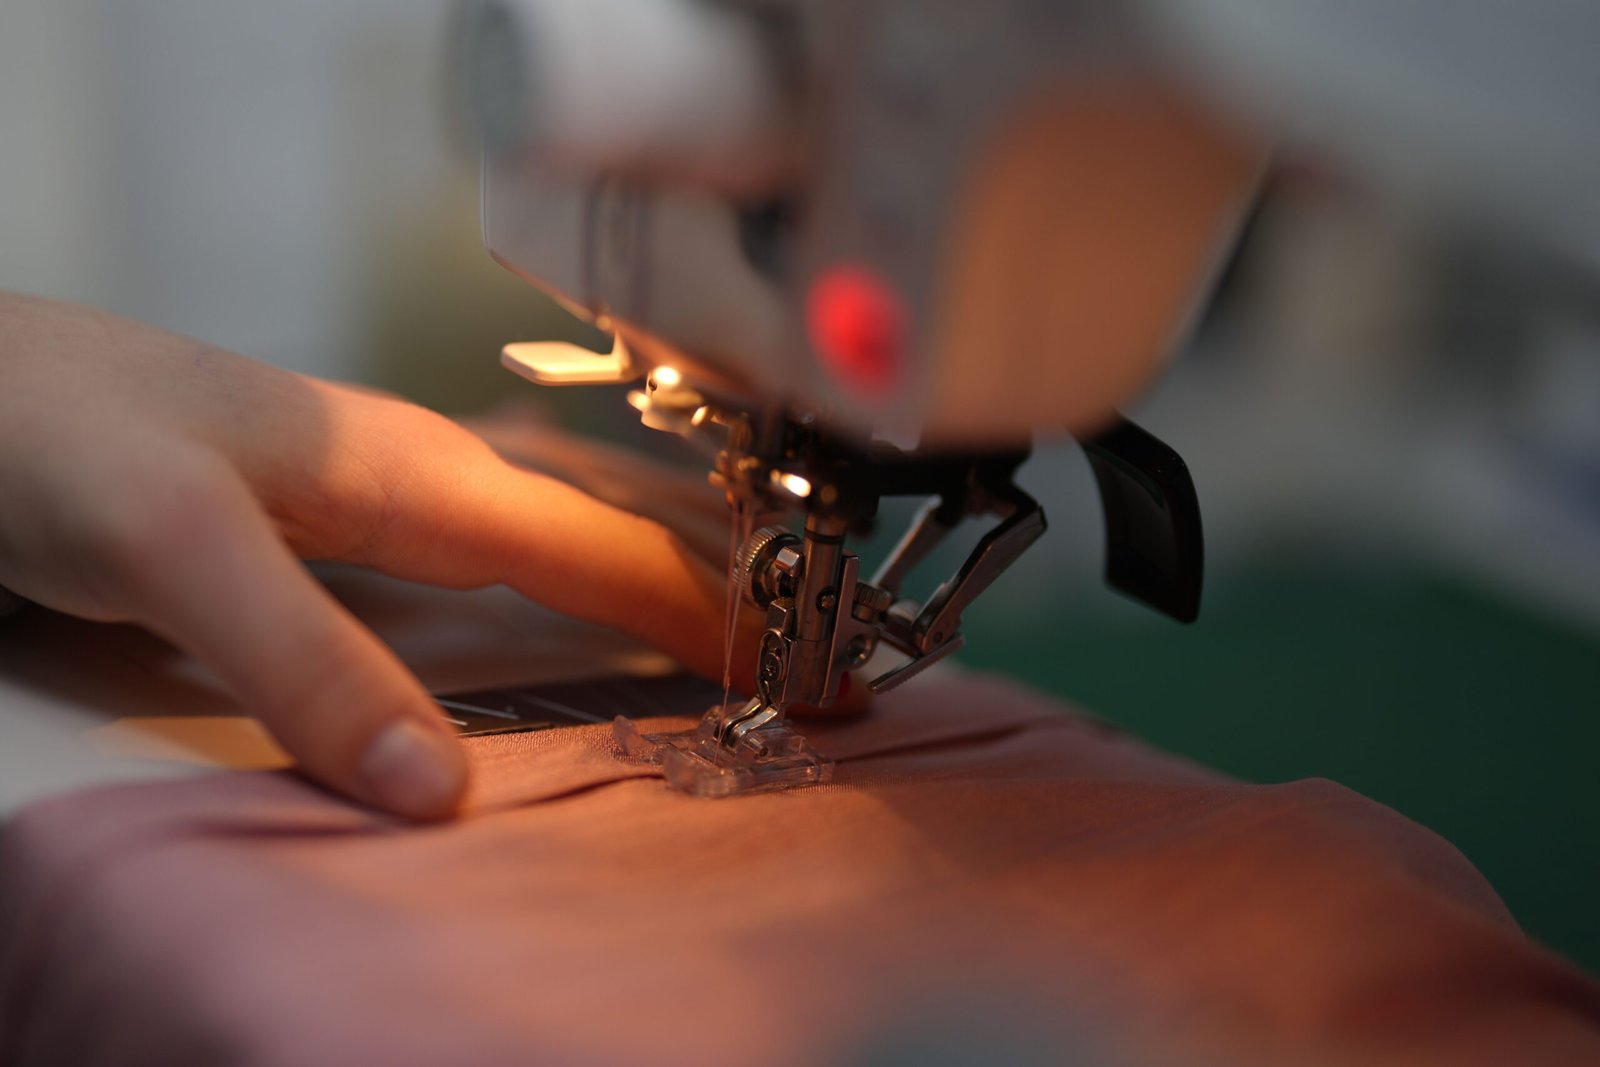
The plain seam is one of the simplest and most widely used methods. Two pieces of fabric are placed together, usually with their right sides facing each other, and stitched along the desired seam line. The seam allowances are then pressed open or to one side, depending on the garment and fabric.
Plain seams are useful for dresses, shirts, skirts, trousers, cushions, and many basic sewing projects.
Advantages:
- Easy for beginners to learn.
- Quick to sew with a standard sewing machine.
- Suitable for many woven fabrics.
- Easy to alter or repair.
The main limitation is that the cut edges can fray. Many fabrics therefore need an additional seam finish, such as zigzag stitching, overlocking, or binding. The correct finish depends on the material and how the garment will be used. <Cite refs={[“turn668801search0″,”turn668801search26”]}/>
2. French Seam
A French seam encloses the raw fabric edges inside the seam. It is especially useful when the inside of a garment needs to look neat and the fabric is lightweight or prone to fraying.
The technique generally begins by stitching the fabric pieces with their wrong sides together. The seam allowance is trimmed, then the fabric is folded so the right sides face each other. A second line of stitching encloses the raw edges.
French seams are commonly used for delicate blouses, lightweight shirts, sheer fabrics, and other garments where a tidy interior finish matters.
Advantages:
- Hides raw edges.
- Creates a clean interior appearance.
- Works well with many lightweight fabrics.
- Reduces the need for a separate edge finish.
French seams are not ideal for every material. Thick fabrics can become bulky when the allowance is enclosed, and curved sections may require careful trimming and pressing. Practice on a fabric scrap before using the technique on a finished garment. <Cite refs={[“turn668801search0″,”turn668801search4”]}/>
3. Flat-Felled Seam
A flat-felled seam is a strong construction in which the raw edges are enclosed and secured with additional stitching. It creates a durable finish that can often be recognised by two visible rows of stitching on the outer side.
This seam is associated with jeans, workwear, casual shirts, and garments that need to withstand regular use.
Advantages:
- Encloses raw edges.
- Creates a durable connection.
- Produces a neat, professional finish.
- Can add a distinctive visual detail.
Flat-felled seams take more time to construct than basic plain seams. The fabric must be folded and stitched carefully to keep the finished seam even. They can also become bulky in thick fabrics with several layers, so needle choice and pressing technique are important.
4. Overlock or Serged Seam
An overlock seam is commonly produced with an overlocker, also known as a serger. The machine uses thread loops to wrap around the fabric edge, helping prevent fraying. Depending on the machine and setting, it can join fabric pieces, finish edges, or perform both tasks together.
Overlocking is widely used in ready-to-wear clothing and is especially useful for knitted fabrics and garments that need efficient edge finishing.
Advantages:
- Finishes raw edges quickly.
- Helps control fraying.
- Works well for many jersey and knit fabrics.
- Creates a professional-looking interior.
An overlocker is a separate machine from a conventional sewing machine, although some domestic sewing machines offer overcasting or overlock-style stitches. The two methods are not identical, so choose the technique according to your equipment and fabric.
For stretch garments, make sure the selected stitch can accommodate the material’s movement. A seam that is too rigid may break when the garment is pulled or stretched.
5. Bound Seam
A bound seam uses a strip of fabric, often cut on the bias, to cover the raw edges. The binding can match the main fabric for a subtle finish or contrast with it to create a decorative effect.
Bound seams are useful for unlined jackets, necklines, armholes, bags, and selected home textile projects.
Advantages:
- Covers exposed edges.
- Provides a tidy finish.
- Can strengthen or protect selected edges.
- Offers opportunities for contrasting colours and decorative details.
Binding takes patience, especially around curves and corners. The strip must be wide enough to wrap around the fabric without pulling or creating excessive bulk. Pressing the binding before stitching can make the process easier and improve consistency.
6. Lapped Seam
A lapped seam is created when one fabric piece overlaps another and the pieces are stitched together. Unlike a basic plain seam, the fabric edges do not necessarily meet at a single enclosed line.
Lapped seams can be used in clothing, upholstery, and projects where an overlapping construction suits the design. The exact method depends on the fabric, the desired strength, and whether the seam should be visible.
Advantages:
- Can provide a secure overlap.
- Works for certain heavy or layered materials.
- Can be useful for repairs and construction details.
- Allows the designer to create visible seam lines.
The overlap must remain even throughout the seam. Uneven fabric layers may produce a distorted appearance, so marking the stitching line and securing the pieces before sewing can help.
7. Flat Seam or Flatlock Seam
A flat seam is designed to reduce bulk where two fabric sections meet. In sportswear and stretch clothing, a flatlock construction can create a seam that lies relatively flat against the body.
Flatlock seams are associated with activewear, base layers, performance clothing, and garments where a raised seam may cause discomfort. However, the exact construction varies with the equipment and stitch system used.
Advantages:
- Can reduce the feeling of bulky seam allowances.
- May improve comfort in close-fitting garments.
- Can create an attractive technical appearance.
- Works well for selected stretch and performance fabrics.
Flatlock construction is not the same as every seam pressed flat. A true flatlock seam requires an appropriate stitch formation and machine setup. For everyday home sewing, a suitable stretch stitch or carefully finished seam may be more practical.
8. Decorative or Topstitched Seam
Decorative seams combine construction with visual design. Topstitching refers to stitching visible on the outside of a garment, often close to a seam or folded edge. It may reinforce the construction while creating a clean, deliberate line.
Topstitched seams appear on jeans, jackets, shirts, coats, bags, and many accessories. Thread colour, stitch spacing, and placement can change the look of the finished product.
Advantages:
- Adds visual detail.
- Can help secure seam allowances.
- Highlights garment shapes and panels.
- Allows contrasting thread to become part of the design.
For neat topstitching, use consistent spacing and test the thread tension on a fabric scrap. A longer stitch length may suit heavier materials, while lighter fabrics may need a more delicate setting.
How to Choose the Right Nahttypen for Your Fabric
Choosing a suitable seam begins with understanding the material. Fabric weight, weave, stretch, and tendency to fray all influence the best construction method. The seam must also suit the garment’s intended use.
| Fabric or project | Suitable seam options | Main consideration |
|---|---|---|
| Lightweight cotton blouse | Plain or French seam | Keep the inside neat and avoid bulk |
| Sheer fabric | French seam | Enclose delicate raw edges |
| Denim jeans | Flat-felled or reinforced plain seam | Prioritise durability |
| Jersey T-shirt | Overlock or suitable stretch seam | Allow the fabric to stretch |
| Unlined jacket | Bound or clean-finished seam | Improve the interior appearance |
| Sportswear | Stretch or suitable flatlock construction | Support movement and comfort |
| Cushions and basic home sewing | Plain seam with a suitable edge finish | Balance simplicity and durability |
| Decorative garment panels | Topstitched or designed seam | Keep the stitching consistent |
These are general recommendations rather than strict rules. Some garments use several different Nahttypen in different areas. A pair of trousers, for example, may have reinforced seams in high-stress areas and a simple finish elsewhere.
Before committing to a technique, test it on a small piece of the actual fabric. This is especially important with slippery satin, fine chiffon, thick denim, and stretch knits.
Consider these practical questions:
- Does the fabric fray? If it does, plan a suitable edge finish.
- Does the fabric stretch? Use a seam that can accommodate that movement.
- Will the seam carry tension? Reinforce high-stress areas when appropriate.
- Will the inside be visible? Choose an enclosed or bound finish if appearance matters.
- Will the garment be washed frequently? Test the seam and finish for durability.
- How thick will the layers become? Avoid constructions that create uncomfortable bulk.
Thinking through these factors before sewing can save time and reduce the need for later repairs.
Basic Steps for Sewing a Neat and Strong Seam
Even the best seam type can produce disappointing results if the fabric is poorly prepared or the stitching is inconsistent. Good technique is therefore just as important as selecting the correct construction.
Prepare the fabric. Wash and dry washable fabric before cutting if the care instructions allow it. This helps account for potential shrinkage. Press the material so the edges and markings are easier to work with.
Measure the seam allowance. Follow the sewing pattern or project instructions rather than guessing. A seam allowance that changes width can affect the fit and appearance of the finished garment.
Align the fabric pieces. Match the marked points, notches, and edges. Pin or clip the pieces together where needed, especially when working with slippery or stretchy materials.
Test the stitch settings. Use a scrap of the same fabric to check stitch length, thread tension, needle choice, and seam behaviour. For stretch fabrics, test the seam by gently stretching it to see whether the stitches remain intact.
Sew steadily. Keep the fabric aligned and guide it gently. Pulling the material through the machine can distort the seam or cause skipped stitches. Secure the beginning and end where the technique requires it.
Finish the raw edges. If the seam construction does not enclose the cut edges, choose an appropriate finish such as zigzag stitching, overlocking, or binding. Some stable fabrics may need less finishing than materials that fray easily.
Press the seam. Pressing helps the fabric settle into the intended shape. Use a suitable temperature for the material and test delicate fabrics first. Pressing is especially important for flat seams, collars, waistbands, and structured garments.
Inspect the finished work. Look for puckering, skipped stitches, loose threads, uneven seam allowances, and areas where the fabric may pull apart. Correct small problems before moving on to the next section.
A neat seam should be appropriate for the fabric, consistent in width, and strong enough for the garment’s intended use. Perfectly straight stitching is valuable, but comfort, flexibility, and durability matter too.
Common Mistakes When Working With Different Seam Types
Beginners often assume that a seam has failed because their stitching is not straight. In practice, the problem may come from unsuitable fabric preparation, incorrect tension, or a construction method that does not match the material.
Using a French seam on thick fabric: Enclosing several bulky layers can make the seam stiff. A plain seam with an appropriate finish may be a better choice.
Leaving raw edges unfinished: Fabrics that fray can gradually lose threads along the seam allowance. Use a suitable finish unless the material and construction make one unnecessary.
Using a non-stretch seam on stretch fabric: A rigid seam may break when the garment stretches. Choose a suitable stretch stitch or overlock construction and test it first.
Ignoring seam allowance measurements: An inconsistent allowance can affect garment fit and cause pieces to line up incorrectly. Marking the seam line and following the pattern helps avoid this issue.
Pulling the fabric while sewing: Excessive pulling can distort the material and produce wavy seams. Let the machine feed the fabric while you guide it gently.
Skipping the pressing stage: Even accurate stitching can look untidy if the seam allowances are not pressed correctly. Use an iron or pressing tool appropriate for the fabric.
Choosing appearance over function: A decorative seam may look attractive but may not provide enough stretch or strength for its location. Consider how the garment will move, wear, and be washed.
The best way to improve is to practise several Nahttypen on fabric samples. Label each sample with the seam name, stitch settings, and fabric used. Comparing the results makes it easier to identify which techniques work best for future projects.
Frequently Asked Questions About Nahttypen
What does Nahttypen mean in English?
Nahttypen is a German term that translates to “seam types” in English. It refers to different ways of joining fabric pieces or finishing seams in sewing and garment construction.
Which seam is easiest for beginners?
The plain seam is generally the easiest starting point. It involves placing two fabric pieces together and stitching along a marked line. Once you can sew a consistent plain seam, you can practise seam finishes and more advanced constructions.
Which seam is best for delicate fabrics?
A French seam is often suitable for lightweight, delicate fabrics because it encloses the raw edges. However, the best method depends on the fabric’s thickness, weave, and design. Always test the technique on a scrap first.
Which seam is strongest for jeans?
A flat-felled seam is commonly used in denim garments because it encloses the raw edges and provides a durable construction. Reinforced seams may also be used in areas that experience substantial stress.
Are seams and stitches the same thing?
No. A seam describes how fabric pieces are joined or arranged, while a stitch describes how thread forms the connection. A single seam construction can involve one or more lines of stitching.
Do all seams need finishing?
No. Some materials resist fraying, and certain seam constructions already enclose the raw edges. Other fabrics need a finish to improve durability and prevent threads from unraveling. The choice depends on the fabric and the purpose of the garment.
Can I sew different seam types on one garment?
Yes. Many garments use different seams in different locations. A designer might choose flat-felled seams for durable sections, a plain seam for other joins, and binding for exposed interior edges.
How can I make my seams look more professional?
Use consistent seam allowances, suitable needles and thread, accurate fabric alignment, and appropriate stitch settings. Press each seam as you work, finish exposed edges when necessary, and inspect your stitching before assembling the next part of the garment.
Conclusion
Understanding Nahttypen helps you make better decisions about sewing, clothing construction, and fabric finishing. Plain seams provide a simple starting point, French seams offer an enclosed finish for lightweight materials, and flat-felled seams are useful when durability matters. Overlock, bound, lapped, flatlock, and decorative seams each serve particular purposes.
The most effective technique depends on the fabric, the garment’s design, and how the finished item will be used. Rather than choosing a seam based on appearance alone, consider strength, flexibility, comfort, and the condition of the raw edges.
Start with a plain seam, practise different finishes on fabric scraps, and gradually explore more advanced methods. With experience, you will be able to recognise which seam type suits each project and create garments that look clean, feel comfortable, and stand up to regular use.











Leave a Reply